In October 2016 Samsung released Galaxy C9 Pro in Asian countries like India to rival similar budget phones like Huawei, Coolpad, and Xiaomi. Samsung launched this smartphone with Snapdragon 653, 6 GB RAM and Android 6.0 Marshmallow out of the box.
Android 6.0 Marshmallow is an OS of the past and these days Android Nougat is in trend. So, if you want to install the latest update of Android Nougat firmware via any custom ROMs, you will have to root your device first after installing TWRP recovery 3.1.
In this guide, we will be telling you how to Install TWRP recovery on your Samsung Galaxy C9 Pro and then root it.Remember, If you want to root your Android device, you have to unlock the bootloader first then you have to install the TWRP recovery using Odin Flashing Tool (Only For Samsung).After that, you have to flash a working Supersu root pack via TWRP recovery to root Samsung Galaxy C9 Pro.

DISCLAIMER
Table of Contents
TheDroidGuru.com is not responsible for any damage happened to your device(s) while following this guide, Proceed at your own risk.
PRE-REQUISITES
- This Guide is only for Galaxy C9 Pro
- We recommend to take complete backup and proceed.
- Maintain 50-60% battery to prevent sudden shutdown between the process.
- Enable Developer Options, USB Debugging and OEM Unlock On Your device
Downloads
SR3-SuperSU-v2.79-SR3-20170114223742.zipSteps To Install TWRP recovery 3.1 on Galaxy C9 Pro
Step 1.First of all, download the Odin file by going to the link mentioned above and instal it
Step 2.Now download the “Recovery_SM-C900.tar.md5″ file by going to its respective link as mentioned above.
Step 3.Now switch off your phone and boot it into Download mode by pressing “Volume down + Home + Power” buttons simultaneously for few seconds.
Now Follow the guide below to install TWRP recovery On Galaxy C9 Pro (Recovery_SM-C900.tar.md5)
Guide: How to Install TWRP Recovery On Samsung Galaxy Device Using Odin
How to root Samsung Galaxy C9 Pro

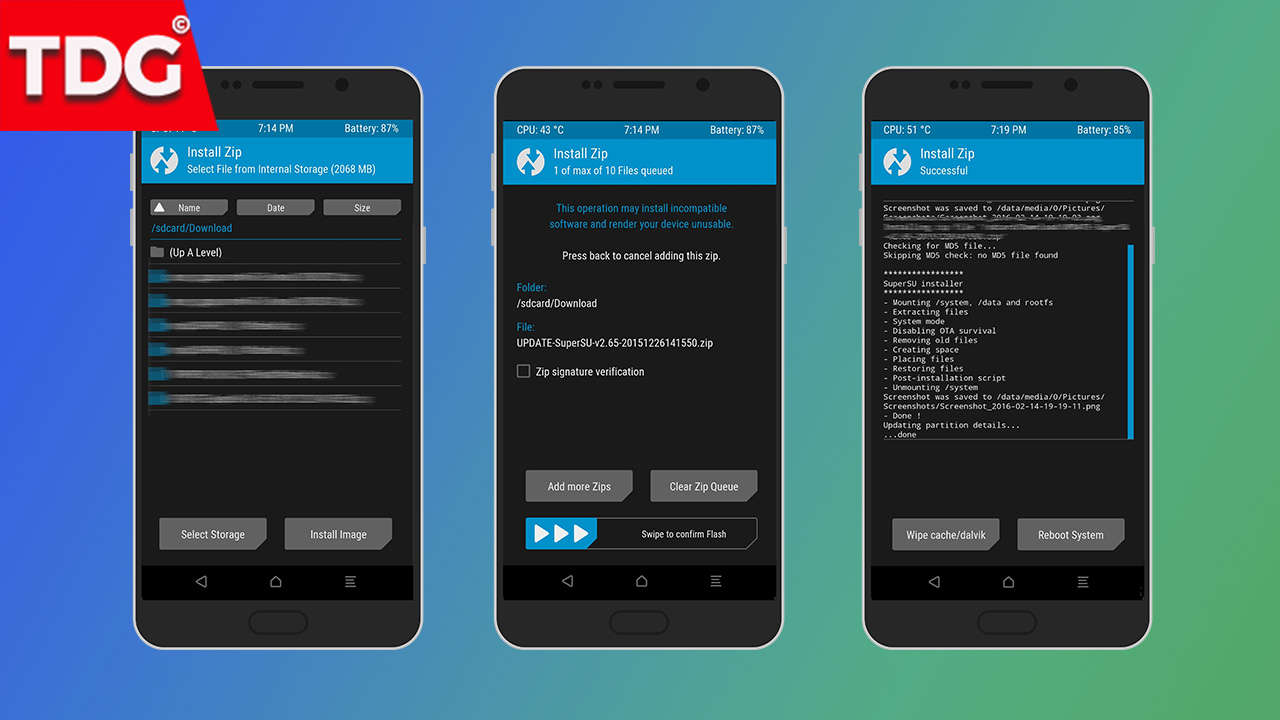
Step 1.Download the “no-verity-no-encrypt_ashyx.zip” and “SR3-SuperSU-v2.79-SR3-20170114223742.zip” files and then copy them to your phone.
Step 2.Switch off your phone and then boot it into Recovery mode by pressing “Volume up + Home + Power” buttons simultaneously for few seconds.
Step 3.Create a Nandroid backup of your data.
Step 4.Now go to Install option and navigate to the “no-verity-no-encrypt_ashyx.zip” and then install it.
Step 5.Now install the “SR3-SuperSU-v2.79-SR3-20170114223742.zip”.
Step 6.Lastly, Wipe off the Dalvik cache, then return to TWRP’s main menu and click on Reboot System.
Done!!! You have successfully Installed TWRP Recovery and root Samsung Galaxy C9 Pro 🙂
The Droid Guru Staff
Thedroidguru is an Android Blog which provides how-to guides, rooting guides, latest news, firmware updates.
