The OnePlus 5 is the true flagship killer for this year, and the rest of 2018 as well. Sporting all beastly specifications, and the highly affordable price it is available at, the OnePlus 5 puts all the flagships from Samsung, LG, and Google to shame. OnePlus has also been prominent with software updates. Today we already have the OxygenOS 4.5.3 update for the OnePlus 5. If you would like to Download and Install Oxygen OS 4.5.3 On OnePlus 5, then you are absolutely in the right place!
This is an incremental update which rolls out in a phase-wise manner. This OTA Update comes with bug fixes and performance optimisations. Check the changelogs below for more information about the new update. If you want to Download and Install OxygenOS 4.5.3 On OnePlus 5 manually, then this is the one-stop shop for you.
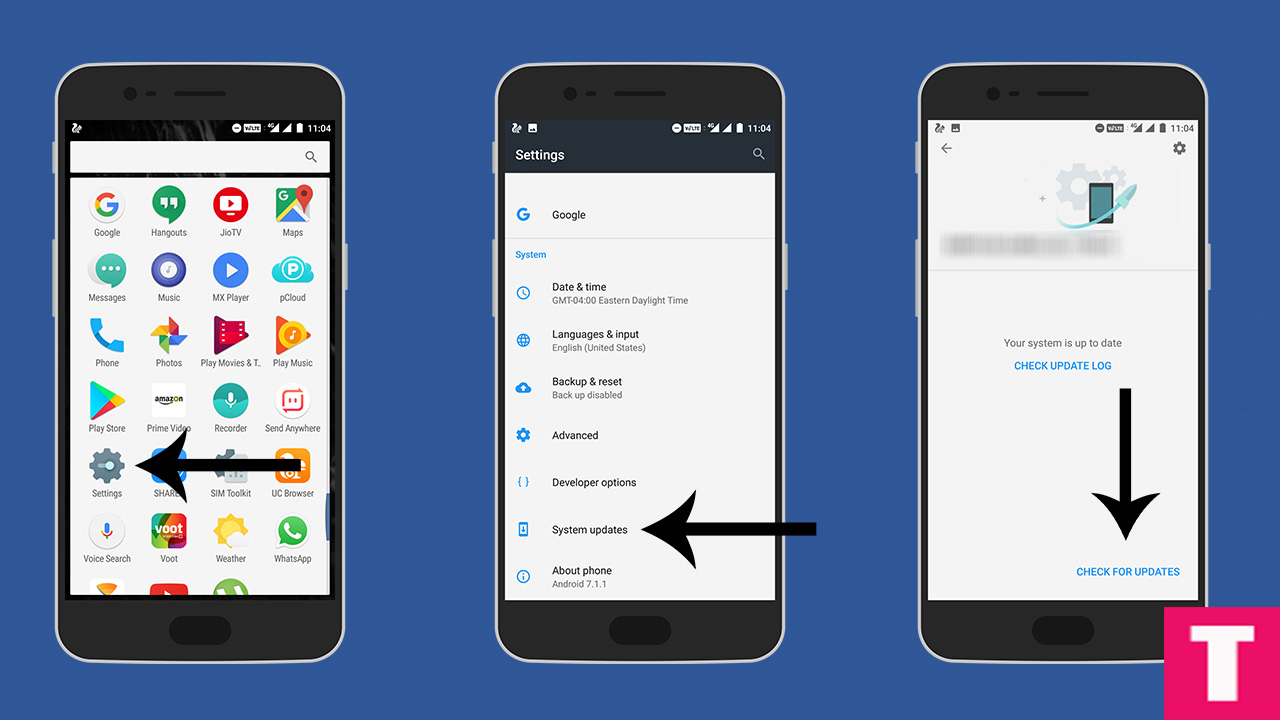
This update is rolling out via OTA (Over The Air) for those who are in the previous versions of OxygenOS. The update may take a few weeks to reach all the corners of the world. You can also manually check for updates in Settings > System Updates > Check For Updates
If there is no update yet in your region then you can wait for few days or if you don’t want to wait for the OTA, then you can follow the below step by step guide to Download and Install OxygenOS 4.5.3 On OnePlus 5.
🔔Updated: Download and Install OxygenOS 4.5.4 On OnePlus 5 | Full Rom + OTA
OxygenOS 4.5.3 Changelogs
Table of Contents
Bug Fixes:
- Expanded screenshot display issue
- Google Translate stutters
- Wi-Fi occasional drops
Optimizations:
- System stability improvements
- Camera effect and stability enhancements
- Effects of auto-brightness adjustment
- Accuracy of data usage statistics
DISCLAIMER
TheDroidGuru.com is not responsible for any damage happened to your device(s) while following this guide, Proceed at your own risk.
PRE-REQUISITES
- This Update is only for the OnePlus 5.
- We recommend to take complete backup and proceed.
- Maintain 50-60% battery to prevent sudden shutdown between the process.
Downloads
OxygenOS 4.5.3 Full ROM Download
How To Install OxygenOS 4.5.3 On OnePlus 5
Method 1 – Installing using ADB
Step 1.First, Enable “Developer Option” and “USB Debugging” on your OnePlus 5.
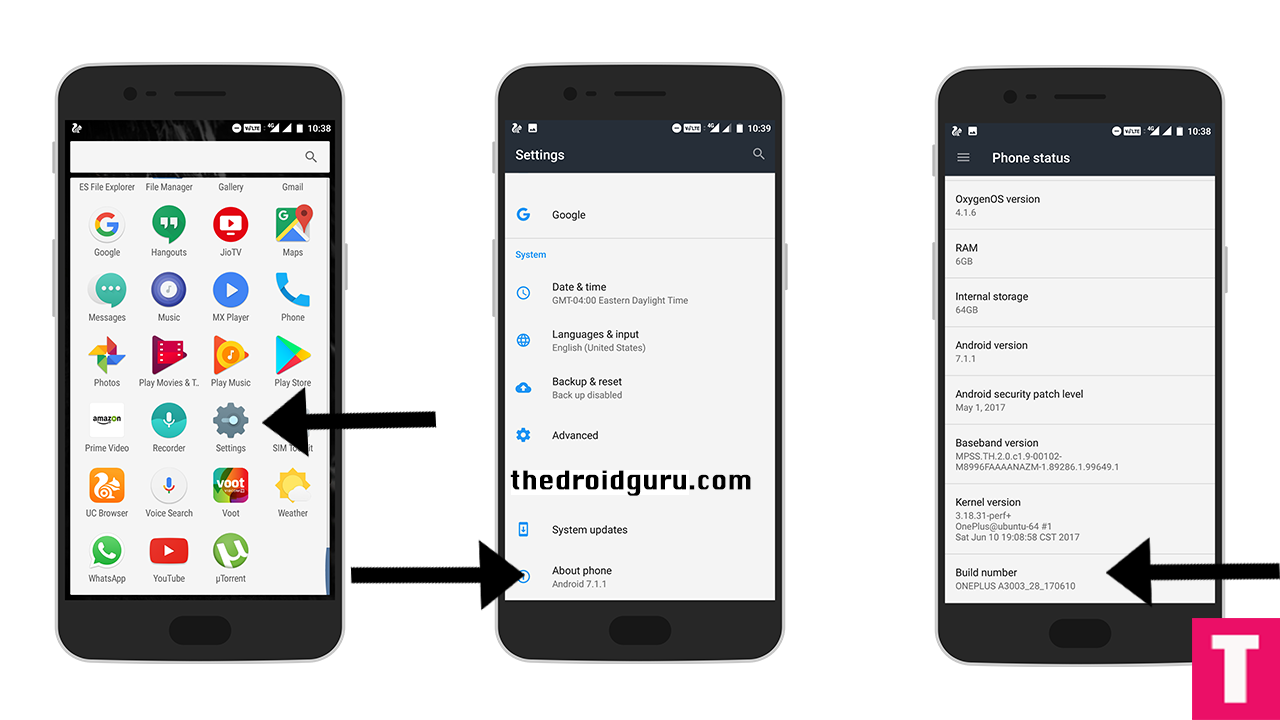
- First, you have to enable the developer option.To Do So Go to Settings > About Phone > Build Number then tap on press build number 7 times to enable the developer option
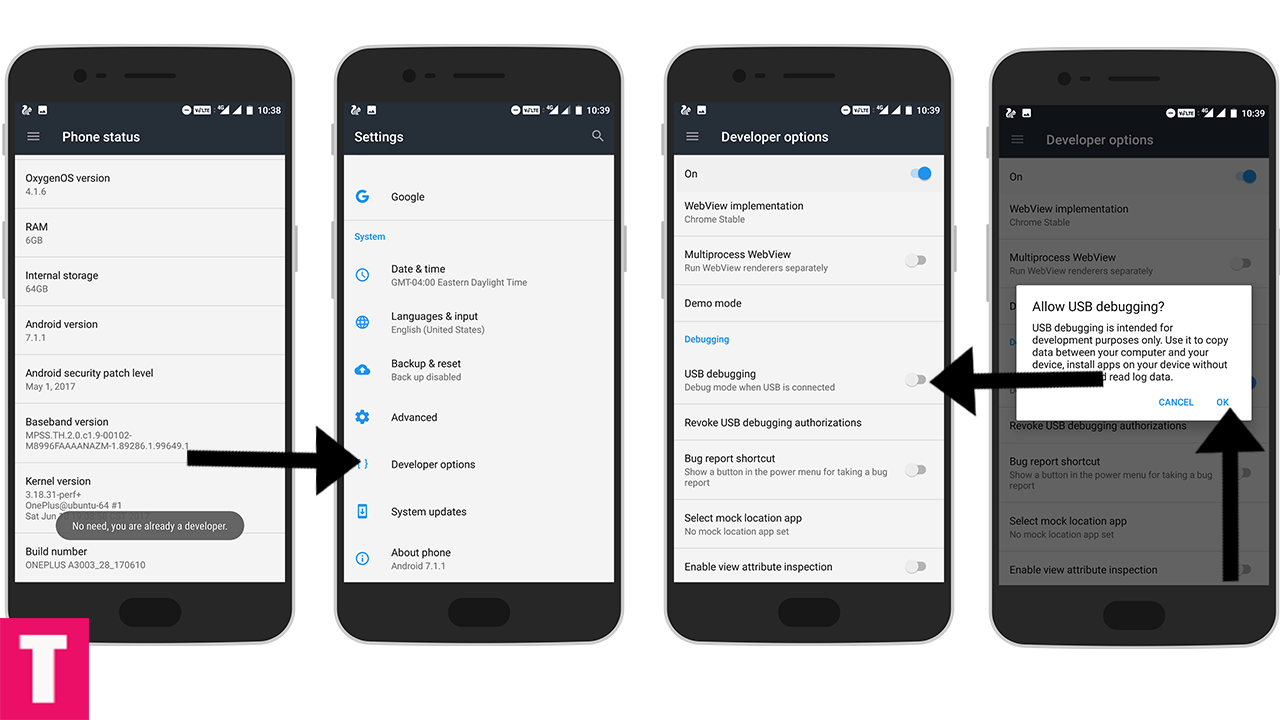
- Now return to the setting’s main menu and scroll down to the bottom, there should be Developer option available above System Update.Now go to Developer option then scroll down to USB debugging and enable that.
Step 2.Now Download and install ADB and fast boot on your PC (Guide contains ADB Installation)
Step 3.Install the OnePlus USB drivers On PC
Step 4.Download Oxygen OS 4.5.3 Firmware for OnePlus 5 and save it on your device.
Step 5.Then, switch off your phone and reboot into recovery mode.


Step 6.Connect Your Phone to your PC using provided USB Cable.

Step 7.Now execute the following codes
adb devices
Step 8.Now, Install OxygenOS executing the following command.
adb sideload <finename>
Step 9.Wait until the installation process completes.Done!!!
Your OnePlus 5 should boot into latest OxygenOs 4.5.3 (Android Nougat 7.1.1)
Method 2 – Installing via recovery
Step 1.Download OxygenOS 4.5.3 OTA zip file from the download section above and copy it to the internal memory of your device.
Step 2.Reboot into the Recovery mode (See the first method where we have shared the full steps)
Step 3.Your phone should now be in Stock recovery.Now select ‘Apply Update’ and select ‘Choose from Internal Storage‘.

Step 4.Now browse and select the downloaded OTA file.The Installation will start automatically.
Step 5.Wait until the process is finished and then reboot your device.Done!!!!
Hope you found this article helpful. let us know your feedback on OxygenOS 4.5.3 For OnePlus 5 🙂
For rooted users
Step 1. Make sure your OnePlus 5’s bootloader is unlocked and TWRP is installed On your phone.
Step 2.Now boot your device into TWRP recovery (mentioned before) and create a nandroid backup so that you can restore if anything goes wrong.
Step 3.Now Wipe cache and Dalvik cache files

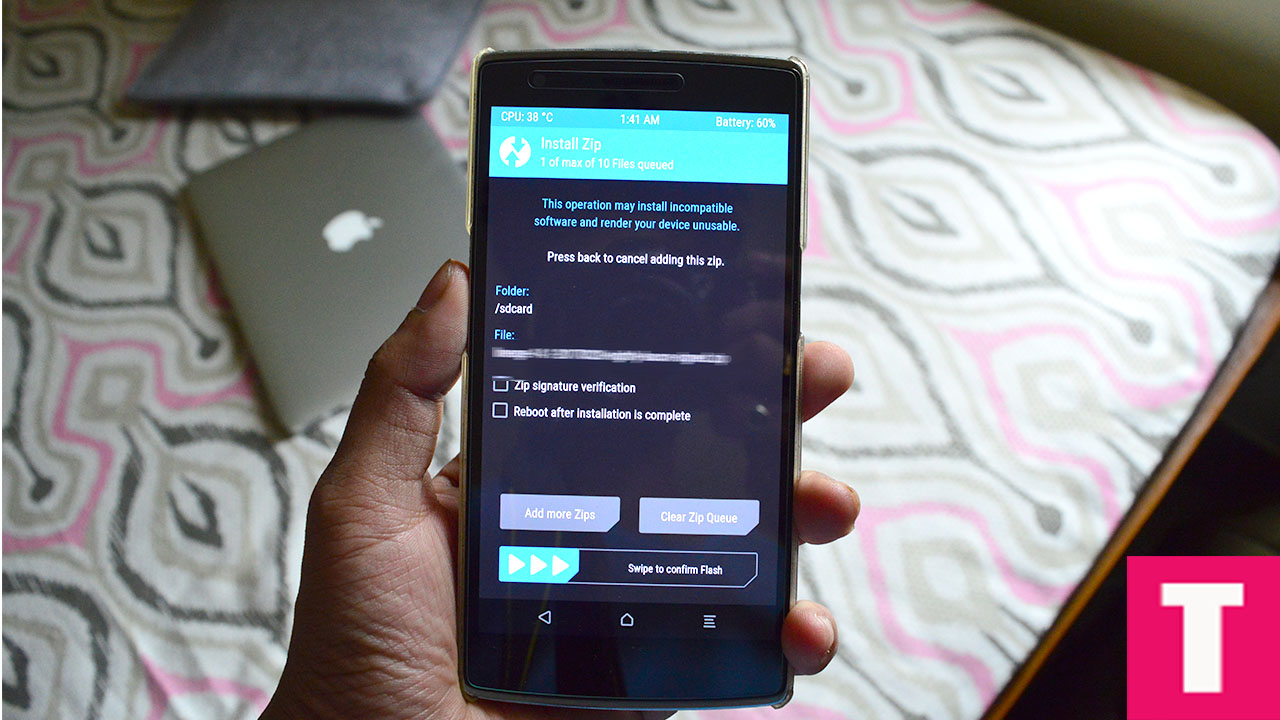
Step 4. Now, Go to Install section and locate the Oxygen OS 4.5.3 Full Rom Zip

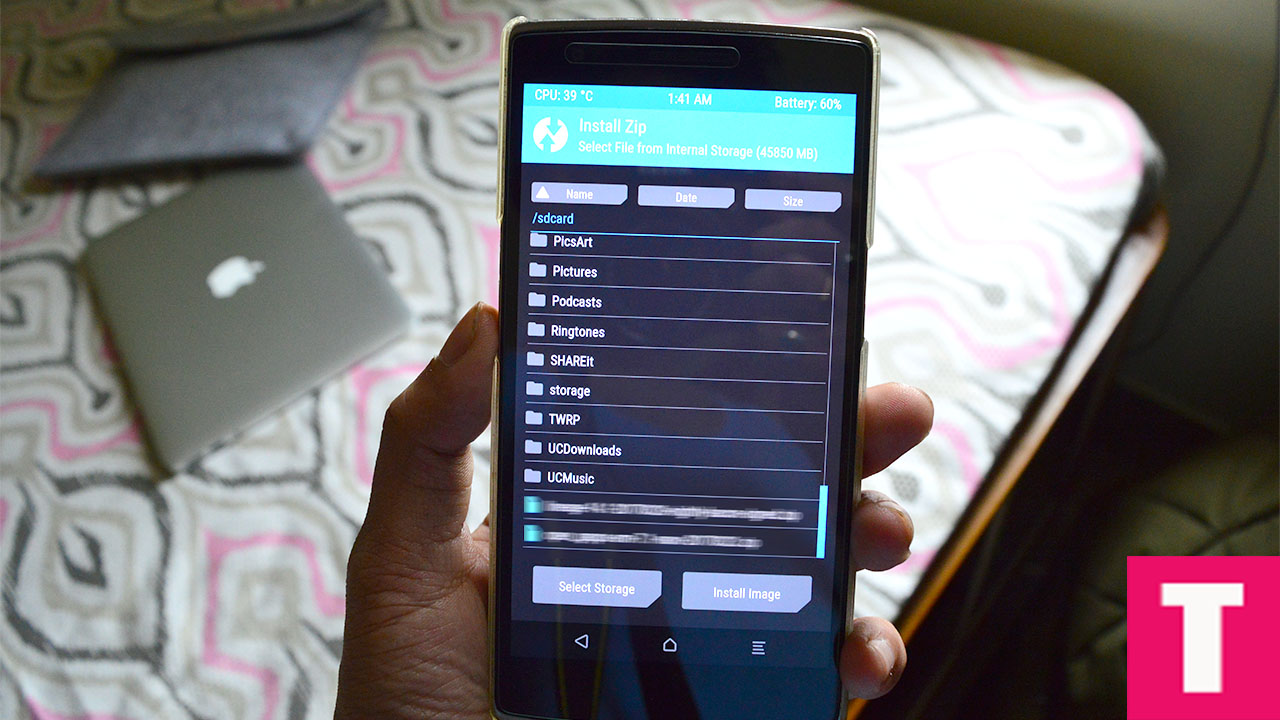
Step 5.Once you select the zip, just swipe to Install the ROM file
Step 6. Now reflash the Magisk Or SuperSU root pack again by going to install section to maintain the root.Then Wipe Dalvik & Cache again.
Step 7.Done!!! Reboot System to boot your OnePlus 5 into the latest OxygenOS 4.5.3 Firmware (remember, the first boot may take up to 5-10minutes)
If you have any question or suggestion related to this post, feel free to leave that in the comment section below:)
Adnan Ahmed
An avid technology reader, author, and admirer, Adnan has been into all-things technology since age twelve. Since then, thanks to the exposure he has been brought into, Adnan now serves as an author on multiple sites including TheDroidGuru. As a passion being developed, he loves filmmaking and cinematography.