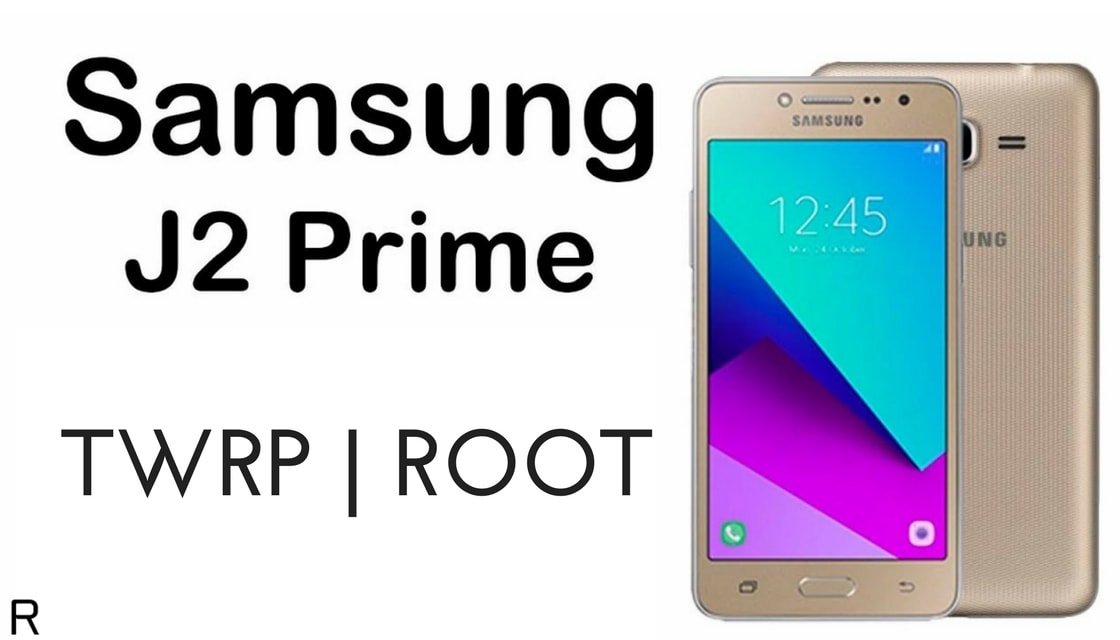
You can now Install TWRP and Root Galaxy J2 Prime easily. All you need is to unlock the bootloader of your Galaxy J2 Prime, to begin with, after that you can get the root access on your Galaxy J2 Prime with the help of TWRP Recovery. Gratefully, however, the organization is keeping to its guarantee with simple bootloader unlocking and a developer friendly device that you can root, install custom ROMs and you can play with several Mods from XDA members and other Android developers.
By Installing TWRP the bootloader you can install custom recovery and it even helps you in rooting your devices. Galaxy J2 Prime accompanies stock Android Nougat out of the box, it offers insignificant customization. Considering the device is generally new, it will set aside some time for the developers to develop custom ROMs for the device.
Advantages
Table of Contents
- You can install custom ROM or custom kernel to unlock more features in your device.
- You can install Xposed Framework to tweak your device.
- Increase battery life and performance by killing background running apps
- You can uninstall Pre-installed (System) Apps.
- You can backup and restore your data easily.
- You can install Mods developed by Android Communities.
In this article, We will guide you how to TWRP and Root Galaxy J2 Prime. Follow the below step by step guide.
DISCLAIMER
TheDroidGuru.com is not responsible for any damage happened to your device(s) while following this guide, Proceed at your own risk.
PRE-REQUISITES
- This Update is only for Galaxy J2 Prime.
- Follow the below Guide Exactly, or else it may lead to brick your device. TheDroidGuru.com is not responsible for any damage.
- We recommend to take complete backup and proceed.
- Maintain 50-60% battery to prevent sudden shutdown between the process.

Downloads
Steps to Install TWRP and Root Galaxy J2 Prime
- Download the Galaxy J2 Prime Root Kit
- Extract the downloaded zip file.
- Double click on the ROOT-ENGLISH.exe file, and connect your device to your PC.
- If drivers are already installed, type ‘no‘ and press enter.
- Now Galaxy J2 Prime will boot into the Download Mode and it will open an Odin Window as well.
- On the AP button and select the root-boot.tar file and click on the ‘start‘ button to start flashing.
- The process will wipe your data from your device and bootloader will be unlocked.
- After successful flashing ‘Your device is rooted‘.
- Reboot your Galaxy J2 Prime, and install SuperSU app from the Play Store!
If you have any questions related to this post feel free to ask in the comment section.
Teja
Teja is a full-time blogger.He likes learning new things and believes that there can never be an end to learning.

after the root my phone requires password