Xiaomi, as we all know uses a modified version of stock Android Known as MIUI. Even though it is heavily skinned and has a lot of additional apps and features which most people don’t use, some functions offered by the MIUI are extremely useful. In fact, few things offered by MIUI are not even available in the stock version of Android.
One such interesting and useful feature present in MIUI versions 8 and above is the scrolling screenshots On Xiaomi. Everyone knows about the normal screenshot option, just hold your volume down and power buttons together and the screen you are currently in will be captured. However, this is not using every time.
For instance, you might want to send a screenshot of a specific part of your chat with someone. In case if it does not fit into a single screen, you usually take multiple screenshots and then share them individually. But this might not be ideal and you cannot always keep taking a lot of screenshots On Xiaomi Phones
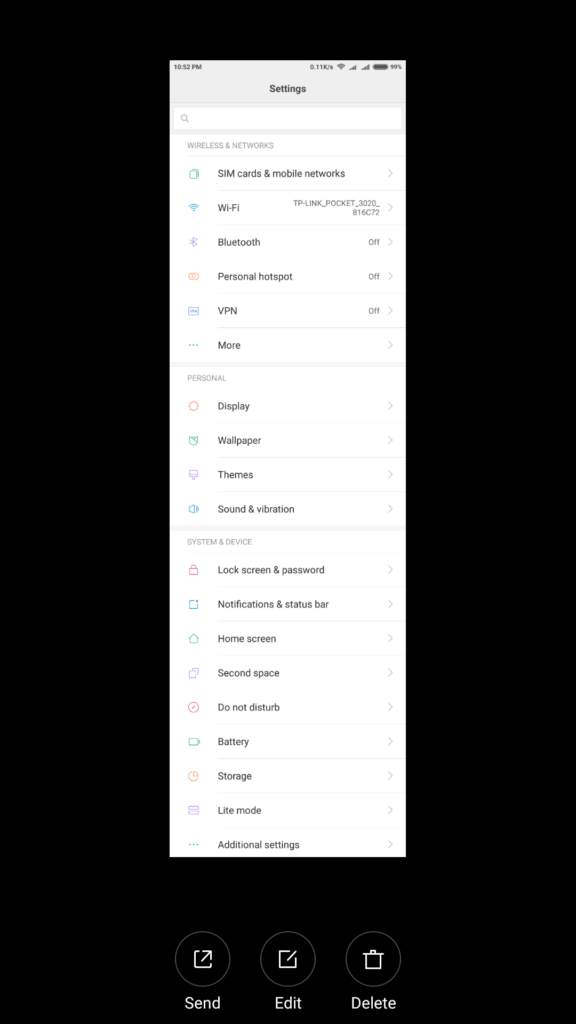
So, if you are using a Xiaomi device and are on the MIUI version 8 and above, then you are lucky because you can take scrolling screenshots on your device. This is similar to a normal screenshot but instead of a single screen, you can now capture continuous screens by scrolling through your device.
Must Read: MIUI 9 Launched! Downlaod Date, Eligible Devices & Highlighted Features
Here is how to take scrolling screenshots on your Xiaomi device running MIUI 8 or Above
Steps To Take Long Screenshots On Xiaomi Devices | Scrolling Screenshot Guide
Table of Contents
Step 1: Go to the page where you want to take the scrolling screenshot on your Xiaomi Device.
Step 2: Now as you do for a traditional screenshot hold your volume down and power buttons together.
Step 3: Immediately after you do this, the snapshot of the screen you captured will appear on the top right corner of your screen. Click on it before it disappears.
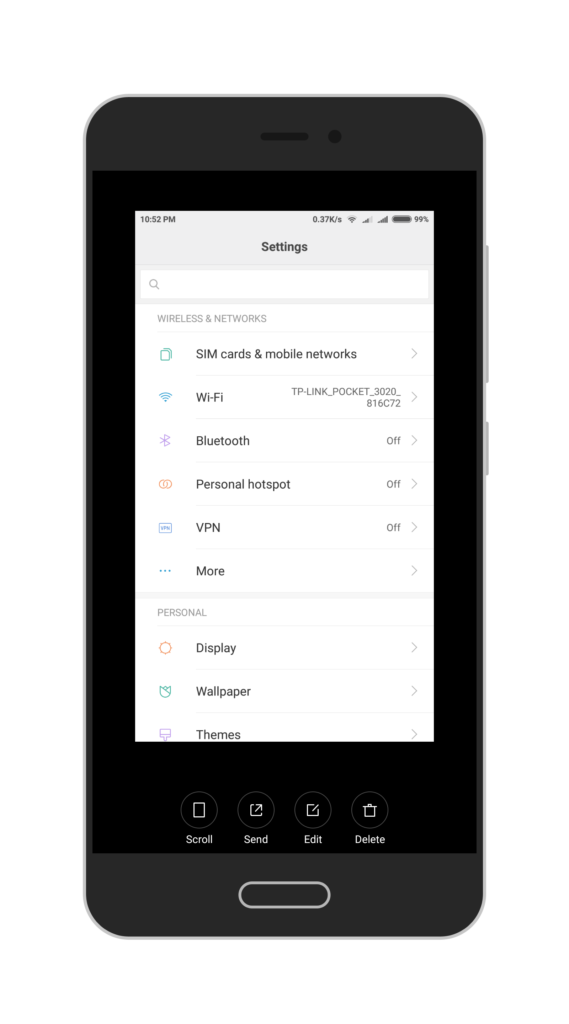
Step 4: Once you click on the snapshot, a new page will open. You will find an option called Scroll. Click on it. (As you can see in the image below)

Step 5: Your screen will now begin to scroll automatically. You can either click on the done option below to stop at a specific place or wait till the entire page is captured.

Step 6: Once the scrolling screenshot is done, it will be automatically saved to your gallery. You can also share it right from the screen if you want.
Video Guide (Credit: TechCilium)
That’s it.If you have any question related to this guide, feel free to ask us in the comment section below 🙂
Raja
Hello! I am Raja, a tech enthusiast who loves to read and write anything related to technology. I listen to music and watch a lot of movies and TV series during my free time. I am an ambivert and I am funny sometimes.
