If you’ve ever owned an iPhone or iPad for a few months, you know how useless data can pile up and clog your memory. Even though Apple now offers up to 512GB of memory on the new iPhone X series of smartphones, the amount of media we use on average can quickly use up a lot of that. That’s why iPhone users need a viable way to permanently delete data from their device, not only to free up memory but have the device running like new all the time. It is our pleasure to introduce the most authoritative of iPhone Data Eraser, it is called SafeWiper For iOS, a comprehensive data erasing utility for Mac and Windows that will help with your spring cleaning. Let’s explore some of the features of this amazing piece of software.
SafeWiper For iOS — Once Erased, Gone Forever
Table of Contents
The most important feature of the SafeWiper For iOS is its ability to unrecoverably delete any type of data on your iPhone or iPad. When you’re selling your old iPhone to someone else or sending it to the shop for extensive repairs, you don’t want your private data getting into the wrong hands, and this software erases your data in a way that even recovery software won’t be able to get it back. That means solid security and data privacy at your fingertips.

Why Delete iPhone Data with SafeWiper For iOS?
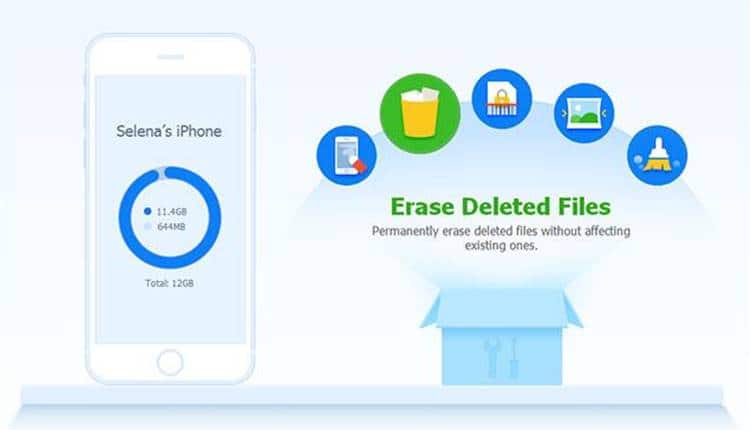
Most users are not aware that there are several types of data deletion. Most methods will only make the data unavailable for access. If you trash everything and empty the trash, the data is still recoverable. The same goes for a factory reset as well. Your settings and data appear to be gone, but any decent data recovery software can retrieve the information in a few minutes. That means most data deletion methods are not completely secure. SafeWiper For iOS is different. It uses a series of process that overwrite any existing data on your device to make it undecipherable. In short, when you erase data with SafeWiper For iOS, it is thorough and permanent.
How Does iPhone Data Eraser Work?
Despite being a robust software, this utility is surprisingly easy to use. New users will find the interface very intuitive and refreshing, and you don’t really need a tutorial to tell you what to do. Nevertheless, we’ve described the process so you understand how it works before you install it and erase data on your iDevice. Just follow the steps below to use the SafeWiper For iOS on the market.
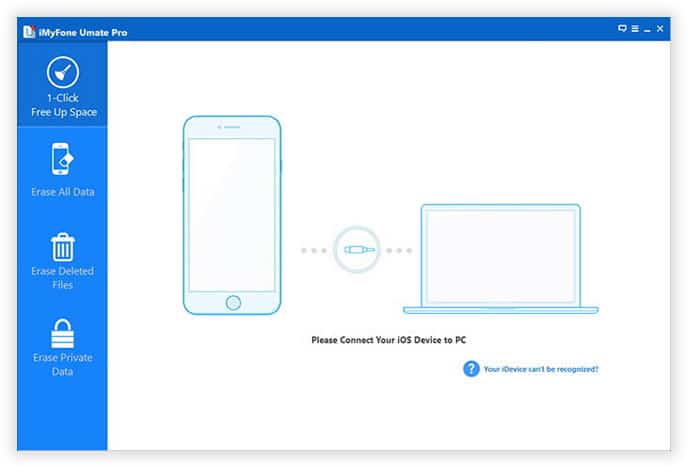
Step 1: First, install the program on Mac or computer after downloading it from the official website. Follow the instructions in the setup wizard to install the application.

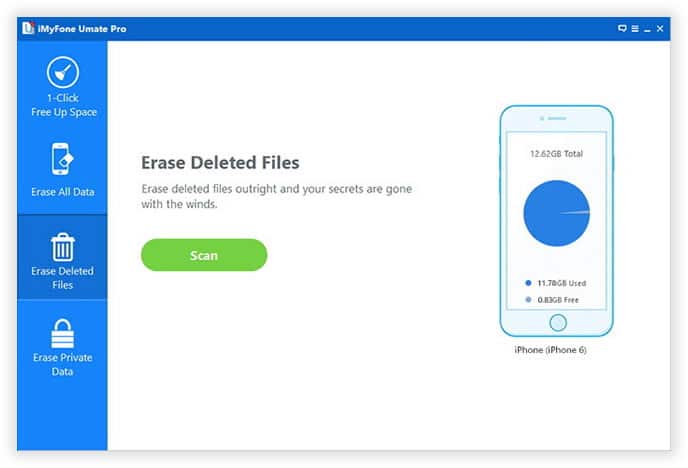
Step 2: Launch iPhone Data Eraser and connect your iDevice to the computer using the original USB Lightning cable that came in the box. On the software interface, you’ll see your device and several options to Erase All Data, Erase Private Data, Erase Deleted Files and so on. Click on the appropriate option. For this example, we’ll see how to erase deleted data.

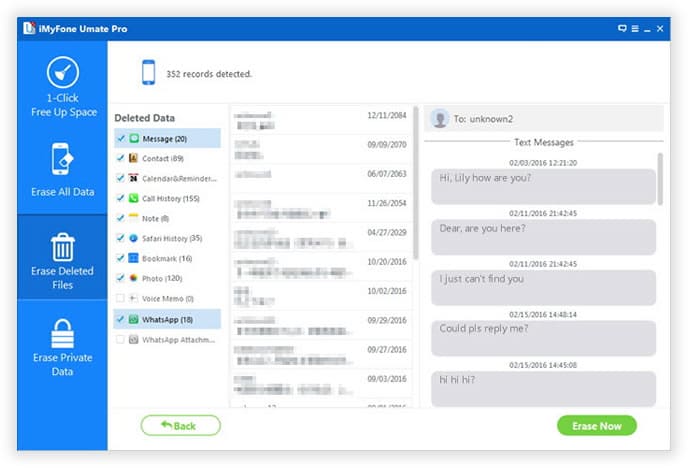
Step 3: Once you select the erase option, choose Start Scan, and the software will scan your device and show you all private files stored on the device. Select all the data you wish to erase. 
Step 4: Finally, click on the “Erase Now” button, and all the data you selected will be completely wiped from your iPhone.
As you can see, SafeWiper For iOS is very simple, and all it takes is a few minutes to completely delete any type of data from your iDevice, including text messages, media, emails, call history, cache files, browsing history and so on. The software uses military-grade data erasing technologies to ensure that no data recovery software will ever be able to retrieve the data. For that reason, it is recommended that you take a backup of any data that you may want to preserve for the future. Try it today and see for yourself why this software is trusted by millions of iDevice users around the world.
The Droid Guru Staff
Thedroidguru is an Android Blog which provides how-to guides, rooting guides, latest news, firmware updates.
