The Sony Xperia XA Ultra was recently updated to the latest version of Android Nougat. The device was launched last year with Marshmallow and the method for rooting it was also available. However, since the process to root a device running on Nougat is slightly different, we have put together a simple guide to successfully root your Sony Xperia XA Ultra running Android Nougat.
Xperia XA Ultra Rooting Advantages
Table of Contents
- You can install custom ROM or custom kernel to unlock more features in your device.
- You can install Xposed Framework to tweak your device.
- Increase battery life and performance by killing background running apps
- You can uninstall Pre-installed (System) Apps.
- You can backup and restore your data easily.
- You can install Mods developed by Android Communities.
In this article, We will guide you how to unlock bootloader, install TWRP recovery and Root your Sony Xperia XA Ultra. Follow the below step by step guide.
DISCLAIMER
TheDroidGuru.com is not responsible for any damage happened to your device(s) while following this guide, Proceed at your own risk.
PRE-REQUISITES
- This Update is only for Sony Xperia XA Ultra Smartphones running Android Nougat.
- We recommend to take complete backup and proceed.
Guide: How to Backup Your Android Device Without Root
- Maintain 50-60% battery to prevent sudden shutdown between the process.
Downloads
Steps to Install TWRP and Root Sony Xperia XA Ultra
Install TWRP
- Before Installing TWRP, check whether the bootloader of your device could be unlocked.
- You can do this by typing the following on your dialer app. *#*#7378423#*#* then choose Service info —> Configuration —> Check for “Bootloader unlock allowed: Yes.
- If you do not get the reply as yes, do not proceed as you might brick your device.
- Now go the this official link of Sony website and then follow the steps to unlock your bootloader.
- Once you have succesfully unlocked the bootloader, download the boot kernel, TWRP recovery zip and Magisk files from the links above.
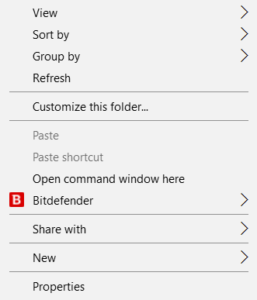
- Now extract all the downloaded files into a folder open a command window there by holding the shift key + right mouse click on an empty space in the folder and click on “Open command window here” option to launch a CMD.
- Switch off your mobile and enter into boot mode by holding volume down and power buttons for few seconds.
- Connect your Mobile with your PC using the USB cable.

- Now install the boot file in your Sony Xperia XA Ultra by executing the following command
fastboot flash boot boot.img
- Once the process is completed switch of your phone and enter into the bootloader mode agian by following the same method.
- Execute the below command to install the TWRP recovery
fastboot flash recovery recovery.img
- Now execute the following command, to reboot your device in recovery mode,
fastboot boot recovery.img
- Done
Steps To Root Your Device Via TWRP
- Download the Magisk zip file from the above link.
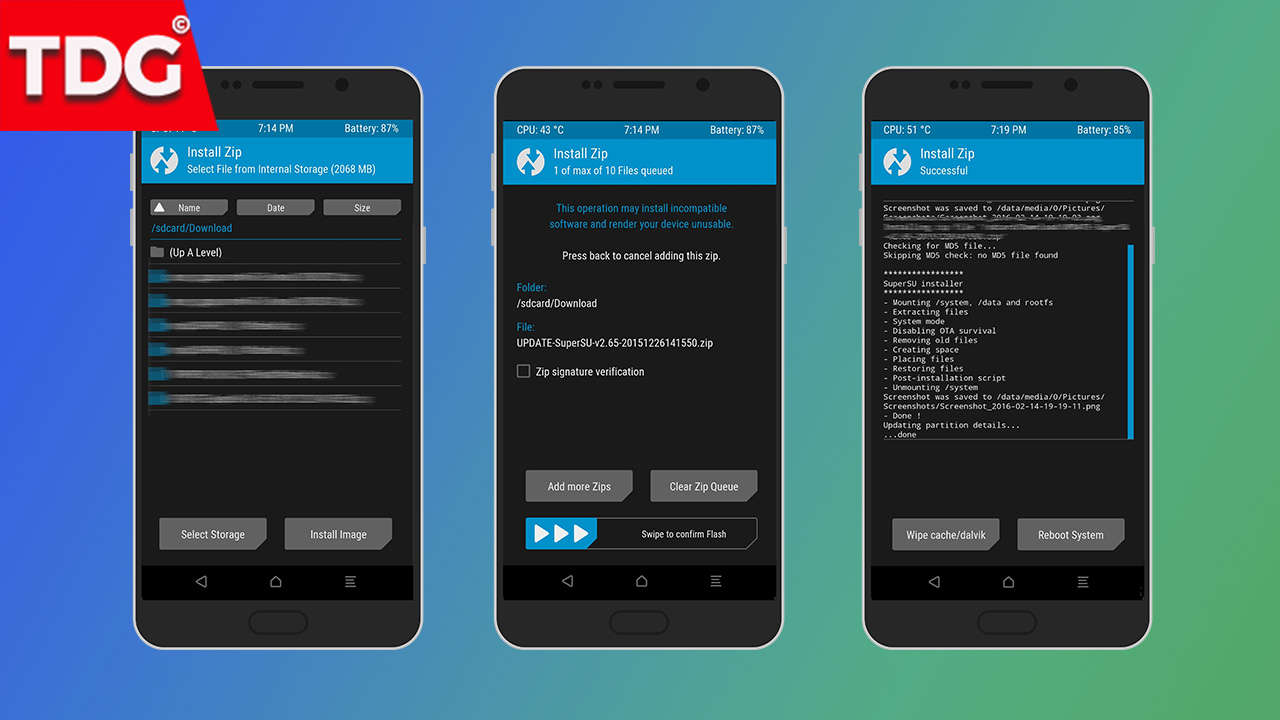
- On the TWRP main menu, Click on “Install” and select Magisk(zip file) that you saved in your device.
- After selecting the .zip file, do “Swipe to Confirm Flash” to begin the installation process.
(This may take some time as it is a fresh flashing process).

- Once the Magisk is successfully installed, click on “Wipe cache/Dalvik” option, and then do “Swipe to wipe” on the bottom of the screen.
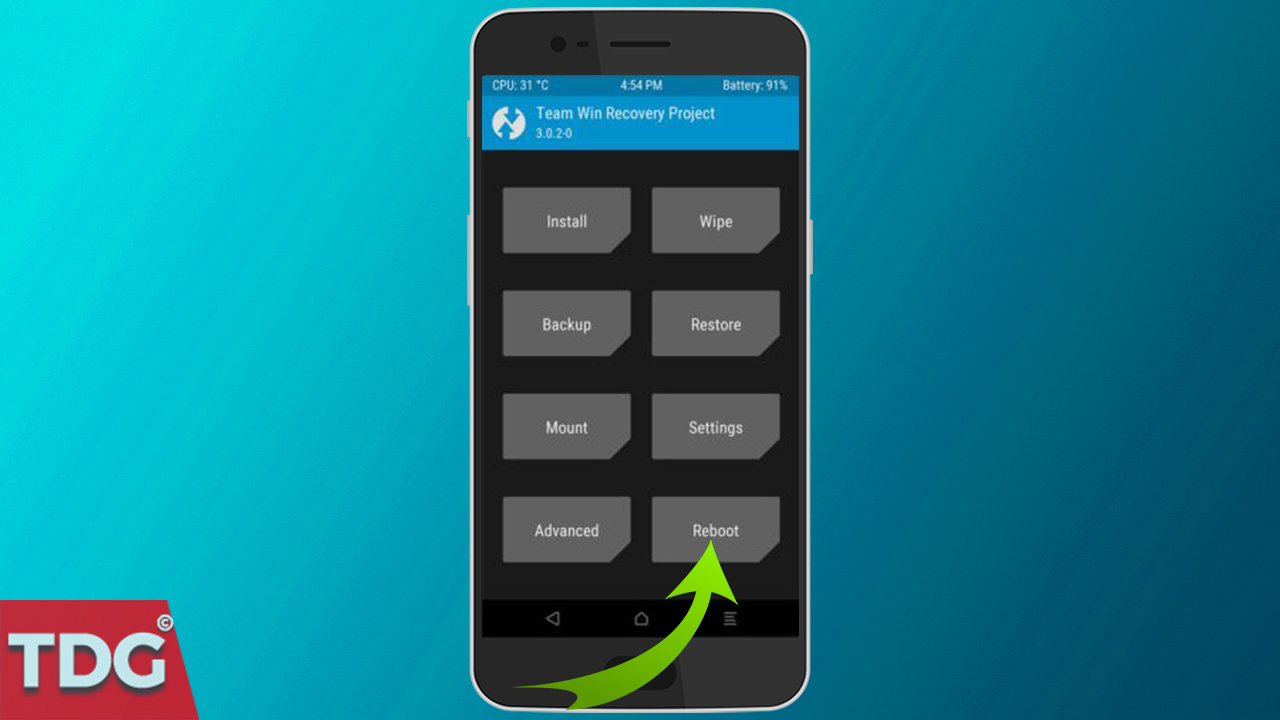
- Once done, reboot your device from the TWRP main menu.Done!!!!

- Once you have rebooted your phone, you can see the Magisk manager installed and you can check for root using the root checker.
[appbox googleplay com.joeykrim.rootcheck&hl=en]
If you have any questions related to this post feel free to ask in the comment section.
Raja
Hello! I am Raja, a tech enthusiast who loves to read and write anything related to technology. I listen to music and watch a lot of movies and TV series during my free time. I am an ambivert and I am funny sometimes.
